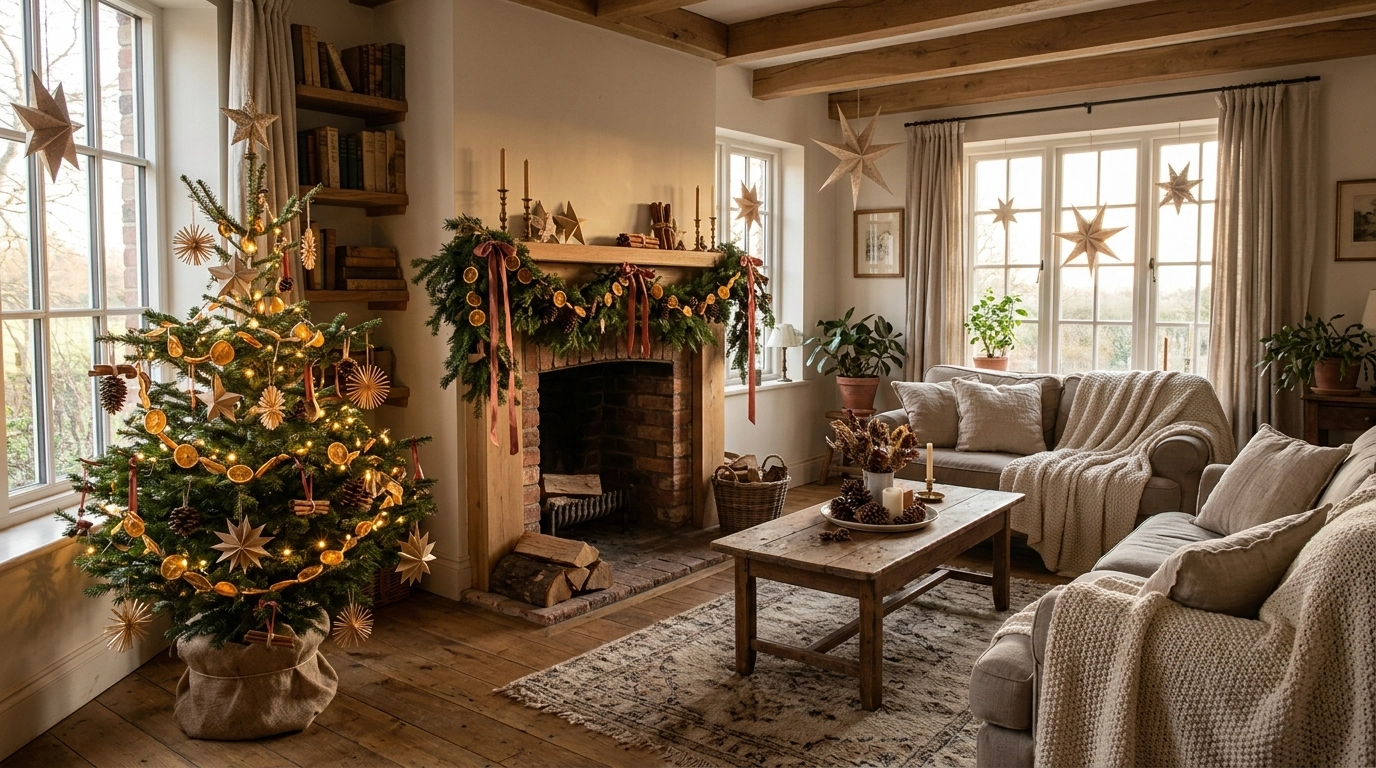
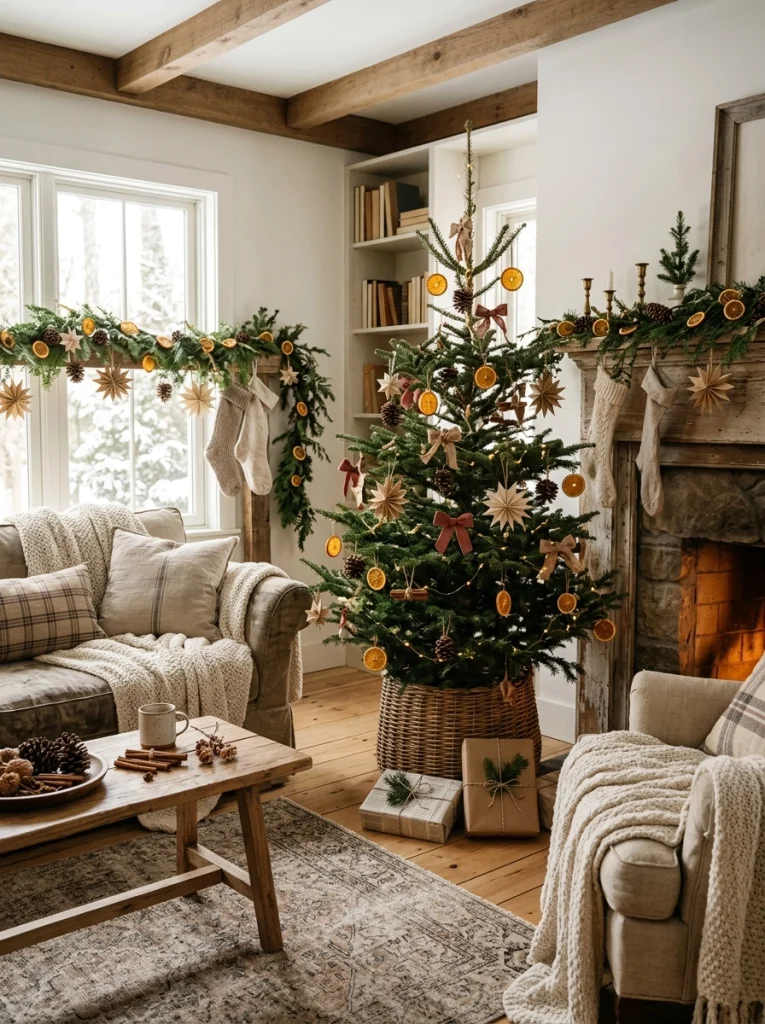
A home can feel surprisingly bare at Christmas when the tree is decorated but the shelves, dining table, and entryway still look ordinary. Store-bought decorations add up quickly, too, especially if you’re trying to decorate several rooms without spending a small fortune. Handmade ornaments and simple natural accents are an easy way to bring everything together.
Learning how to make DIY Christmas decorations doesn’t require expensive craft supplies or a dedicated craft room. With about two to three hours, a few household tools, and roughly $35 to $45 in materials, you can create paper stars, dried orange garlands, cinnamon bundles, pinecone ornaments, and a pretty tabletop display. These projects suit traditional, farmhouse, Scandinavian, and neutral Christmas styles, and you can reuse many of the materials next year.
Time: 2–3 hours, plus drying time | Cost: around $40 | Difficulty: Easy | Best for: Living rooms, entryways, dining tables, and small apartments
What You’ll Need
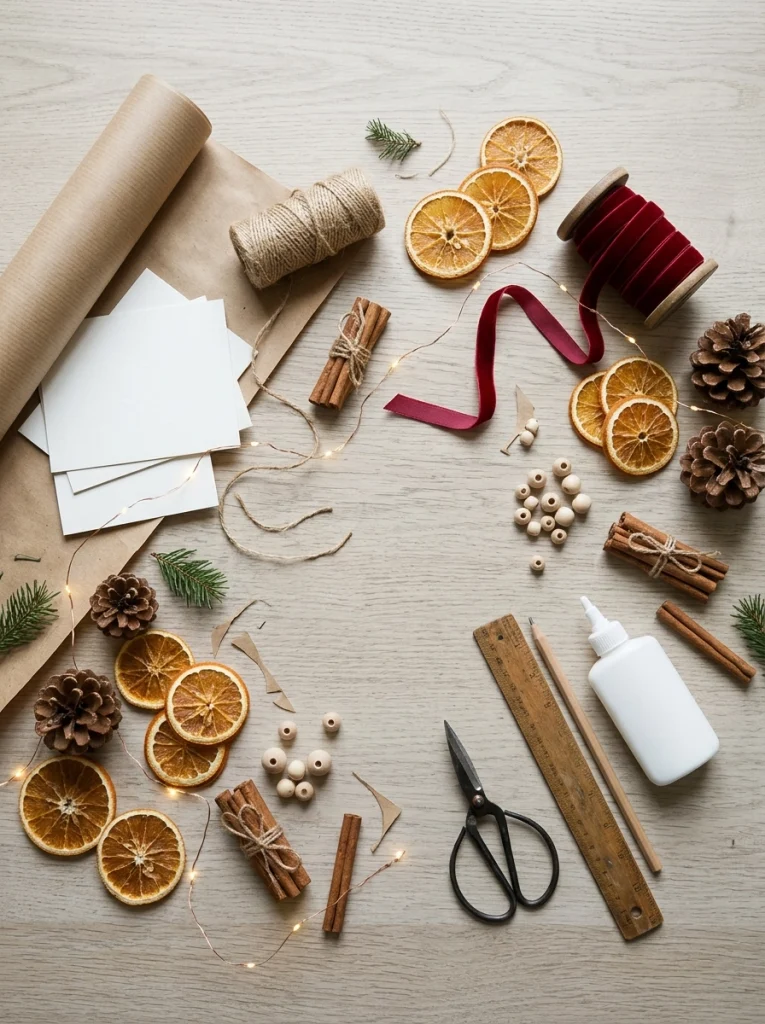
- White cardstock or kraft paper, $3 to $5
- Fresh oranges, 3 medium, around $3
- Jute twine, $3 to $5
- Red velvet or plaid ribbon, $4 to $6
- Cinnamon sticks, one small bundle, $3 to $4
- Pinecones, collected outdoors or $3 to $5 for a bag
- Small wooden beads, $3 to $5
- Craft glue, around $4
- Scissors, ruler, and pencil, $0 if you own them
- Baking tray and parchment paper, $0 if already available
- Battery-operated fairy lights, around $6 to $8
You can find most of these supplies at Walmart, Target, Michaels, or Amazon. Check a local thrift store for ribbon, baskets, old Christmas ornaments, and small ceramic dishes before buying anything new.
1. Choose a Simple Christmas Color Palette
Before cutting paper or tying ribbons, choose three main colors for your decorations. Cream, natural brown, and evergreen create a relaxed Scandinavian look, while deep red, forest green, and warm gold feel more traditional. Using a small palette helps homemade pieces look related even when their shapes and materials differ.
Spread your supplies across a table and group matching colors together. For this project, use three main colors and one accent, such as cream, brown, green, and burgundy. Keep metallic details limited to a few gold bells or ornaments. The mistake to avoid is buying every pretty ribbon you see. Too many competing colors can make a small living room feel visually busy.
2. Dry Orange Slices for Natural Christmas Decorations
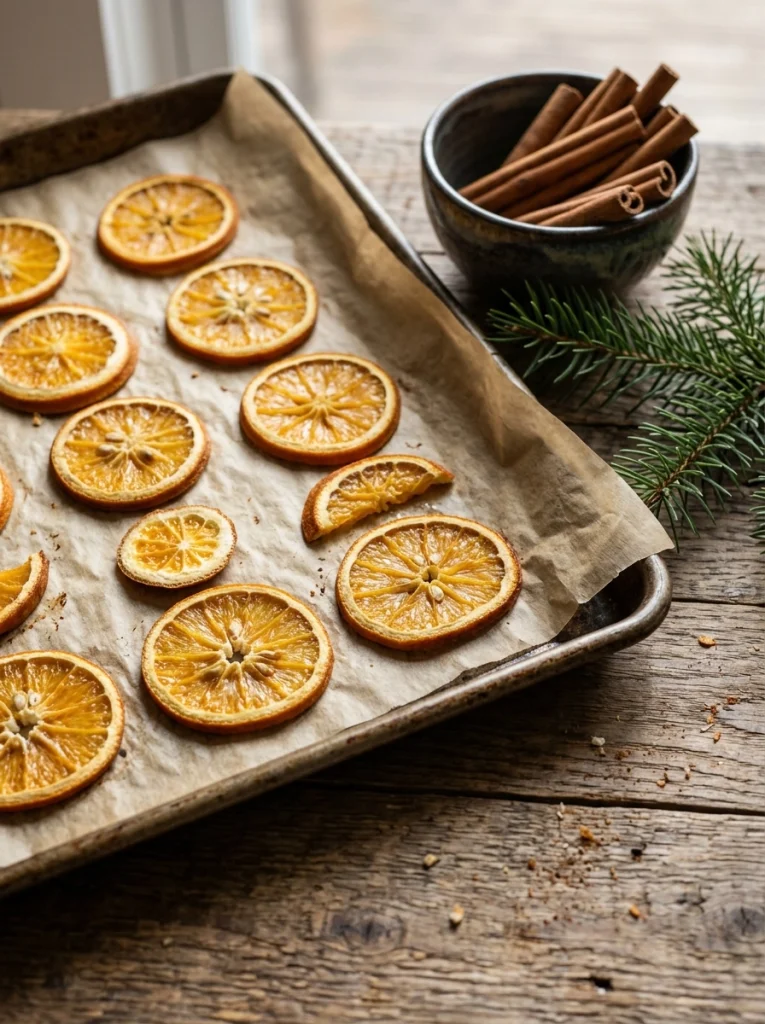
Wash three oranges and slice them into rounds about 1/8 inch thick. Blot each slice with a paper towel to remove excess juice, then arrange the rounds in a single layer on a parchment-lined baking tray. Bake at 200°F for approximately three to four hours, turning them every 45 minutes.
The slices are ready when they’re mostly dry and no longer wet in the center. Let them cool completely before using them. If they’re still sticky, return them to the oven for another 20 to 30 minutes. Watch the edges closely during the final hour because thin slices brown quickly. Never leave the oven unattended, and store the cooled slices in a dry container until you’re ready to decorate.
3. String a Dried Orange Garland
Cut a piece of jute twine to the length of your mantel, shelf, or window, then add approximately 12 inches of extra twine for tying the ends. Using a wooden skewer or a large needle, make a small hole near the top of each dried orange slice. Thread the twine through the holes, spacing the slices about two inches apart.
Add a cinnamon stick or a small evergreen sprig between every two or three oranges. Tie a loop at each end for hanging. A 4-foot garland usually looks lovely across a narrow mantel or above a console table. Don’t pull the twine too tightly, since the brittle orange slices can crack. Hang the garland away from candles, fireplaces, and other heat sources.
4. Fold Paper Stars for Shelves and Windows
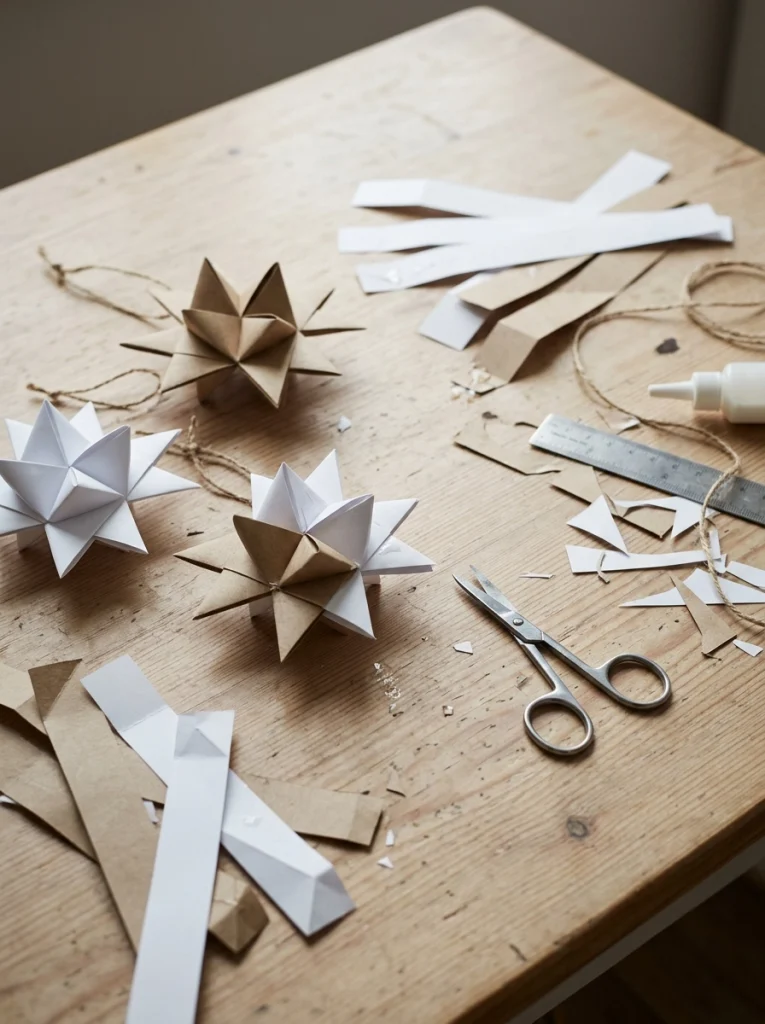
Cut six strips of cardstock measuring 1 inch wide by 8 inches long. Fold each strip in half lengthwise, then unfold it to mark the center. Fold the ends inward to create pointed tips, and arrange the six strips into an interlocking star shape, weaving them over and under each other.
Secure the overlapping sections with small dots of craft glue and let them dry for 10 to 15 minutes. Trim uneven tips with scissors, then punch a small hole in one point and thread through a loop of twine. White stars look beautiful against dark windows, while kraft-paper versions suit farmhouse shelves. Avoid using thick cardboard because it becomes difficult to fold cleanly and can leave bulky joints.
5. Turn Pinecones Into Rustic Hanging Ornaments
Collect six to eight clean, dry pinecones, or pick up a small bag from a craft store. Brush away loose dirt with an old toothbrush, then leave them somewhere dry overnight. Cut ribbon or twine into 8-inch lengths and tie each piece into a loop around the top of a pinecone, securing it with a small dab of craft glue if necessary.
For a softer appearance, brush just the outer tips with a little white craft paint using an old artist’s brush. Let the paint dry for at least 30 minutes before hanging the ornaments. You can also attach a small wooden bead to the ribbon for extra detail. Skip heavy glitter unless you enjoy cleaning up stray sparkles, since it tends to shed onto furniture and floors.
6. Make Mini Cinnamon Stick Bundles
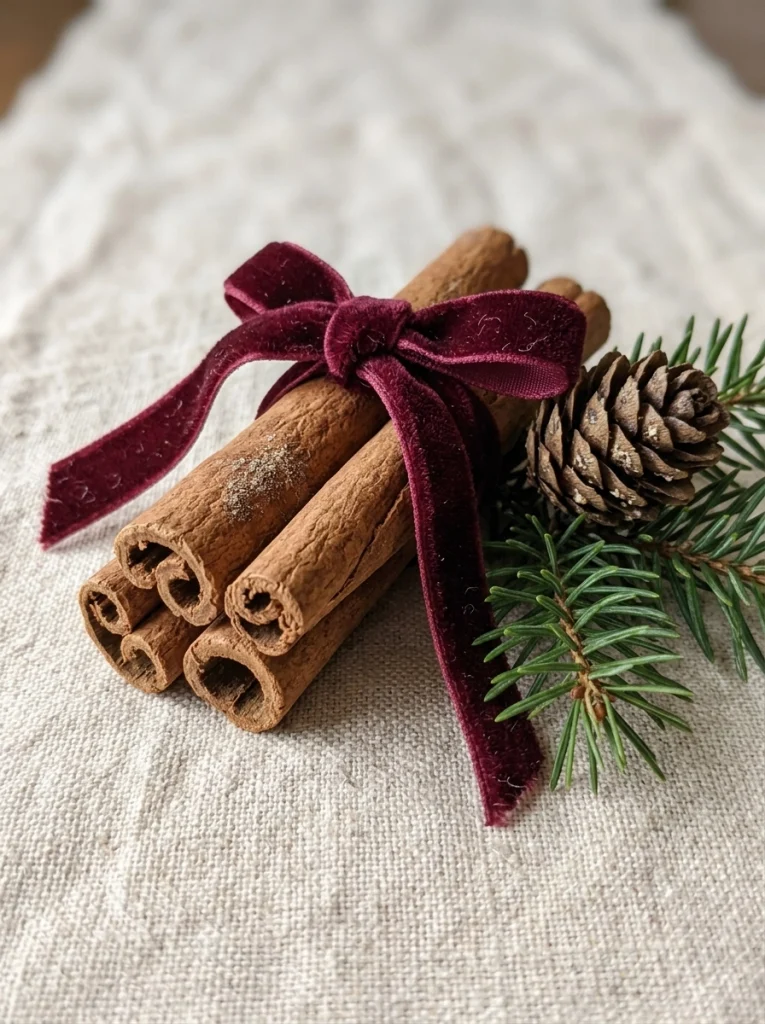
Gather three cinnamon sticks for each bundle and cut 10-inch lengths of narrow velvet ribbon. Stack the sticks side by side, wrap the ribbon around their middle, and tie a small bow at the front. Make four to six bundles for a coordinated display.
These little decorations work well on gift packages, napkin rings, or a shallow wooden tray. Allow about five minutes per bundle, including tying the bow. For a more natural look, use burgundy ribbon with green sprigs or cream ribbon with jute twine. Don’t add cinnamon bundles directly to candles or hot light fixtures. Cinnamon is decorative here, not a fire-safe accessory.
7. Create a Handmade Christmas Tree Ornament Collection
Choose a few finished paper stars, pinecones, and dried orange slices to create a small coordinated ornament collection. Cut ribbon or twine into 6-inch hanging loops, then attach each loop securely to its ornament. For paper stars, use the punched hole. For orange slices, thread twine through the hole you made earlier.
Arrange the ornaments on a table before hanging them so you can check their colors and sizes together. Put larger pinecones lower on the tree and lightweight paper stars near the branch tips. If you have young children or pets, place small wooden beads and breakable decorations higher up. Keep ornaments away from hot bulbs and use LED Christmas lights instead of older lights that become hot.
8. Style a Homemade Christmas Table Display
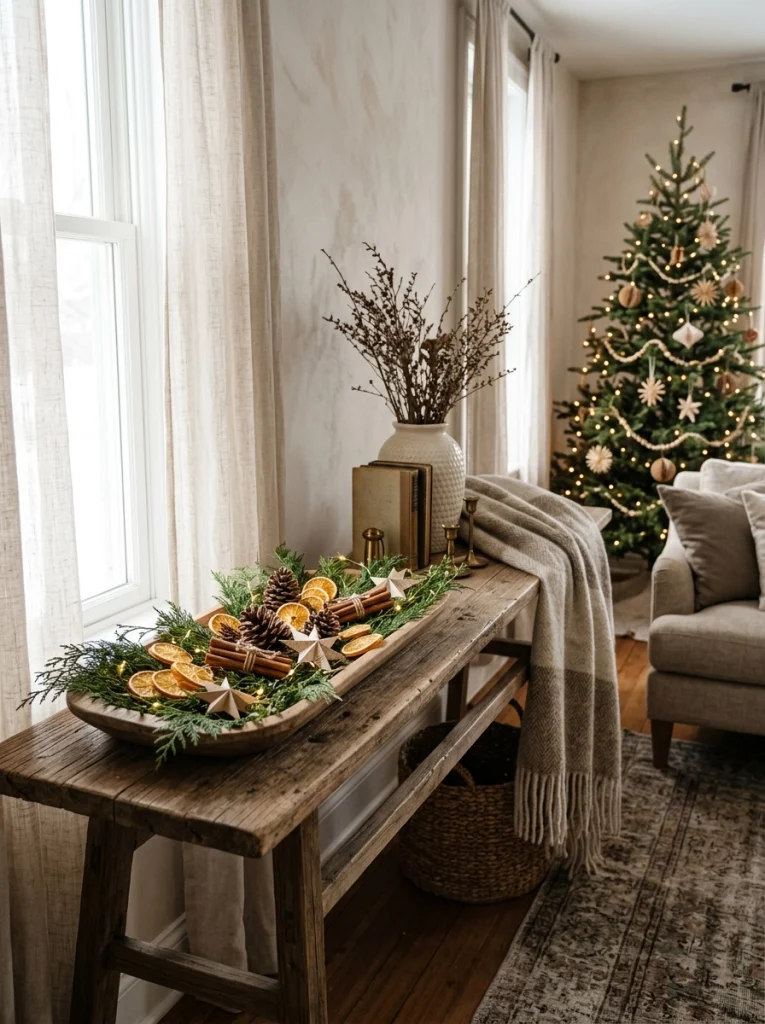
Choose a shallow tray, a wooden bowl, or a thrifted ceramic dish as the base for your display. Arrange four pinecones, two cinnamon bundles, and several dried orange slices around a small evergreen clipping. Add a strand of battery-operated fairy lights for a warm glow.
Leave at least half the tray visible so the display doesn’t look overcrowded. On a dining table, keep the arrangement low enough for guests to see across it, ideally under 10 inches tall. For more ideas on coordinating handmade pieces with the rest of your home, explore [INTERNAL LINK: article about natural Christmas home decor ideas]. Keep the display away from open flames, and remove fresh evergreen clippings when they begin to dry out.
Mistakes That Ruin the Result
- Using too many colors: Stick to three main shades and one accent so the decorations feel coordinated.
- Cutting orange slices too thick: Keep them around 1/8 inch thick and dry them slowly to reduce moisture.
- Hanging heavy ornaments on weak branches: Reserve heavier pinecones for sturdy lower branches and use lightweight paper stars near the tips.
- Crowding every surface: Leave some empty space around garlands, trays, and shelves so each handmade piece remains visible.
Frequently Asked Questions
Q: How to make DIY Christmas decorations on a small budget?
Start with paper stars, pinecones, and dried orange slices because they require inexpensive materials. Set a budget of $20 to $40, reuse ribbon and containers you already own, and make decorations in matching colors.
Q: What are the easiest homemade Christmas decorations for beginners?
Paper stars, cinnamon stick bundles, and ribbon-wrapped pinecones are easy starting projects. Most take five to 20 minutes each, depending on the size and amount of detail.
Q: How long do dried orange Christmas decorations last?
Properly dried orange slices can last through the holiday season and sometimes longer if stored in a dry, airtight container. Discard any slices that develop mold, a musty smell, or signs of moisture.
Q: Can I make DIY Christmas decorations without a hot glue gun?
Yes. Craft glue works well for paper stars and pinecone embellishments, although it takes longer to dry. Twine, ribbon, and simple knots can secure many decorations without glue at all.
Q: How can I make homemade Christmas decorations look expensive?
Use a consistent color palette, repeat the same ribbon across several pieces, and combine natural materials with a few carefully placed lights. Simple arrangements with visible breathing room often look more polished than displays packed with ornaments.
Q: When should I start making Christmas decorations?
Start two to four weeks before Christmas if you’re drying oranges and making several projects. This gives you time to dry materials properly, fix any broken ornaments, and decorate your home without rushing.
Make This Weekend a Little More Festive
You don’t have to fill every room with store-bought decorations to create a welcoming Christmas home. Start with a batch of dried oranges, a few folded paper stars, and some pinecones, then add the finished pieces to your mantel, tree, or dining table. Once you know how to make DIY Christmas decorations from simple supplies, it’s easy to repeat the process each year and add a new handmade detail or two. Put on some holiday music, gather your materials this weekend, and make a few decorations that feel personal to your home.